
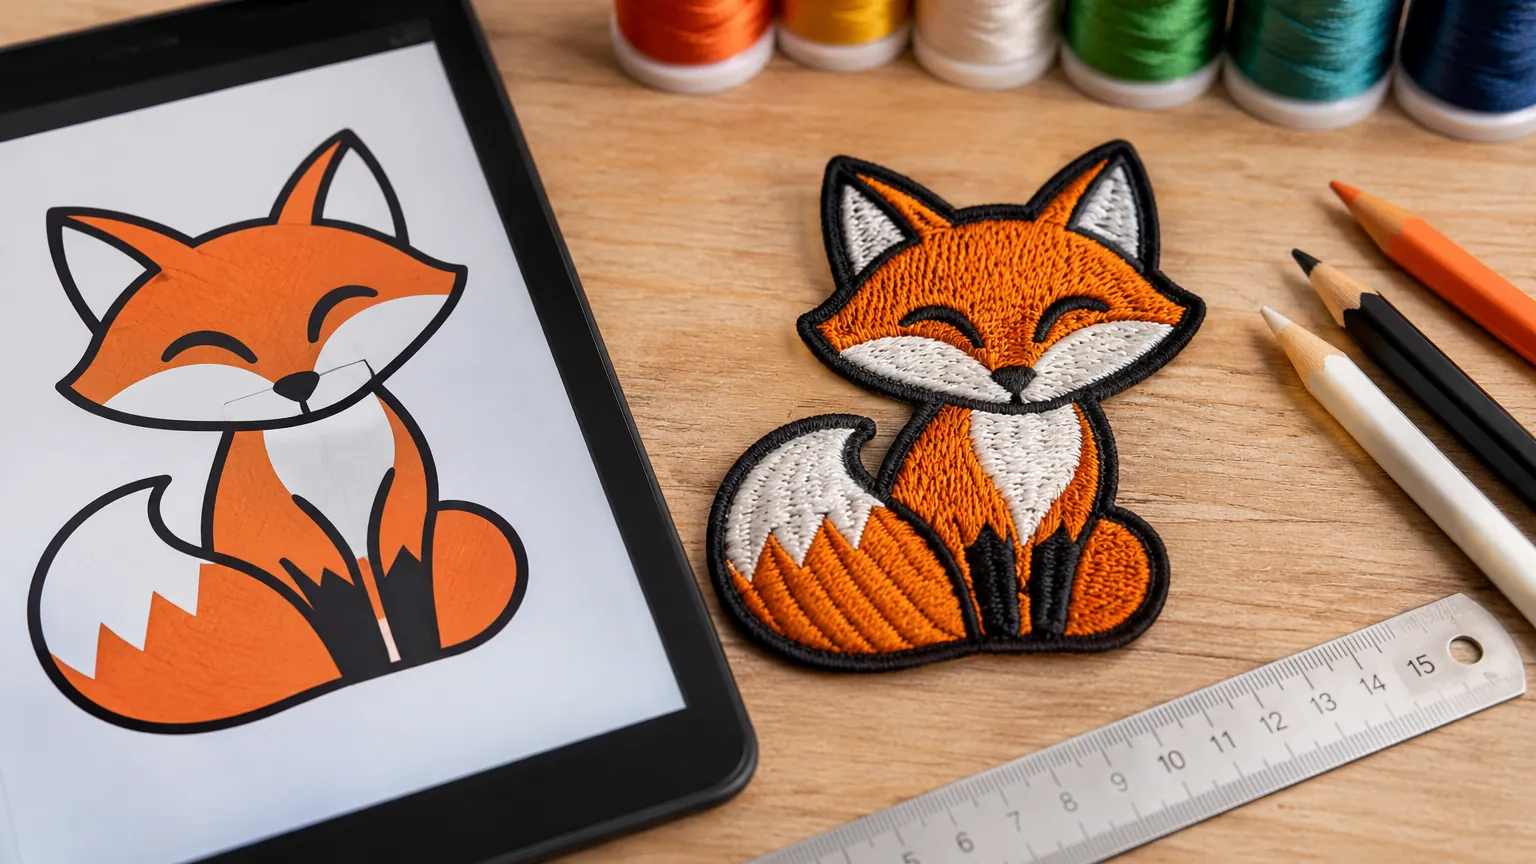
Embroidery is made of thread, not pixels: every stitch has thickness, and some details that look perfect on screen become unreadable on a patch a few centimetres wide. Preparing your logo or drawing well is the best way to get sharp embroidery. Here are the most common mistakes and how to avoid them.
Mistake 1: details that are too small
Hairline strokes, dots and small decorations often disappear or blur in embroidery. As a rule of thumb, the smaller the patch, the simpler the design should be. On a 5–6 cm patch keep only the main elements; on a 12–15 cm one you can afford a few more details.
Mistake 2: unreadable text
- Use bold, simple fonts, avoiding very thin scripts and complex decorative typefaces.
- Keep text short: a name and, if needed, a word or a date.
- Leave space between letters and lines.
- On small patches, avoid long text running around the border.
Mistake 3: too many colours and gradients
Embroidery works with solid colours: each colour is a thread. Gradients, shadows, glow effects and transparency are simplified. The most effective logos use two to six distinct colours, with good contrast between the design and the background. If your logo has gradients, prepare a flat, solid-colour version.
Mistake 4: low contrast
Dark blue on black or pale yellow on white is hard to see, especially from a distance. Choose colours that separate well and, if needed, add a light or dark outline around the main elements.
Mistake 5: a blurry or cropped image
A skewed, dark or low-resolution photo makes the design harder to interpret. If you start from a drawing on paper, photograph it from above in natural light without shadows. If you have a digital logo, use the original file rather than a screenshot.
Which file to use
On PatchMania you can upload images and design files up to 25 MB: JPG, PNG, WEBP, PDF, SVG, AI, PSD, TIFF, HEIC and more. Vector formats such as SVG, AI or PDF keep outlines clean, but a good PNG or a sharp photo works perfectly well. You do not need an embroidery production file: the AI preview interprets the design and shows you how it will be embroidered.
Choose the size together with the design
The available width ranges from 3 to 15 cm and the height follows the design’s proportions. Before ordering, think about where the patch will go: chest, sleeve, cap, back or backpack. A rich design works better large; a simple logo stays readable even small. You will find recommended sizes for each garment in the guides on caps, T-shirts and backpacks and jackets.
Use the preview to compare versions
The quickest way to see what works is to try. Upload the logo, check the embroidered preview and, if a detail does not come through, try a simplified version or a larger size. The preview is illustrative: for technical reasons the final embroidery may include small adjustments.
Image rights
Only upload logos and drawings you have the right to use: your own, your company’s or images you are authorised to use.
Frequently asked questions
Do I need a vector file to make a patch?
No. Vector files help, but a PNG or a sharp photo is fine too. You can upload files up to 25 MB.
How many colours can an embroidered patch have?
Embroidery uses solid colours. Two to six distinct colours usually give the sharpest result; gradients are simplified.
What is the minimum size for readable text?
It depends on the font and patch size: on small patches use short text in bold letters without thin details.
Read also
- Company logo patches: embroidered patches for uniforms, staff and merchandise
- From a child’s drawing to an embroidered patch: a guide for parents and gift ideas
- Iron-on vs sew-on patches: which to choose and how to apply them
- All PatchMania blog guides
PATCHMANIA
Try your logo now
Upload the file and see the embroidered preview in moments. From 5 pieces, embroidered in Italy.
Create your patch →